Bicycle Safety Checklist – the ABC's of Bike Safety [Infographic]
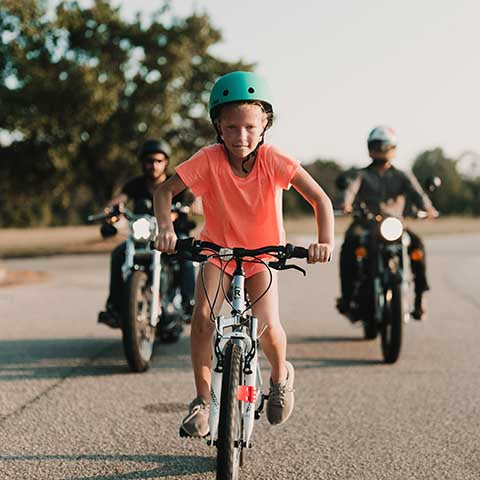
Is there anything that makes parents prouder than the first time they watch their child ride a two-wheeler on his or her own? And seeing a little kid pedaling away on a shiny new bike down the sidewalk, decked out in a brightly-colored safety helmet and shoulder and knee pads – what could be cuter? Not much. But here's the problem. Kids aren't always riding shiny new bikes or wearing helmets or other protective gear. And they're not always riding on uncrowded sidewalks in safe suburban neighborhoods. Too often those kids – small kids – are speeding around on busy streets, unsupervised, riding squeaky, wobbly bikes too big for their size.
Here are a few important facts to consider, offered by the Centers for Disease Control and Prevention:
- Bicycle trips account for only one percent of trips in the U.S., yet bicyclists face a higher risk of crash-related death and injury than people riding in motor vehicles.
- In the U.S. in 2013, there were 900 deaths and almost another half-million emergency room visits due to bicycle-related injuries.
- Among those groups with the highest bicycle death rates are adolescents and young adults. And children, adolescents, and young adults have the highest rates of nonfatal bicycle-related injuries.
Here's the point: Short of locking the doors and throwing away the key, there's nothing you can do to provide a 100% guarantee that you or your kids will always be safe from injury when out riding a bike. But there is a lot you can do to minimize the risks. And the best way to begin is by using a bicycle safety checklist like the one here.
About adult bikes and riders: In most cases, adult bicycles are more complex than children's bikes. The bicycle safety checklist below, although put together with kids in mind, works for both child and adult bikes and riders. We've included Items normally found only on bigger rider's bikes – like multiple gear systems – in the discussion.Your Bicycle Safety Checklist Tool Kit
Maintaining a bike is so much easier when you have the right tools at hand. Fortunately, basic bike maintenance requires only a small set of tools and supplies. Here's what we recommend:
- Crescent wrenches (6 to 17 mm)
- Allen wrenches (2 to 12 mm)
- Tire pump with gauge. Or add a separate gauge if your pump doesn't have one.
- Chain lube and brush.
- Tire lever for tire removal.
- Spare tire tubes (two spares is a good idea). Make sure they're the right size for your bike's tires.
- A clean rag or two.
Once you've gathered all of the tools you'll need, it's time to start the bicycle safety checklist with…
The ABC's
The nonprofit League of American Bicyclists' stated vision is, "…a nation where everyone recognizes and enjoys the many benefits and opportunities of bicycling." Bicycle safety is a big concern of the League, and so they came up with a simple basic bike check formula that's as easy as following your ABC's. We've adopted that concept for our list.
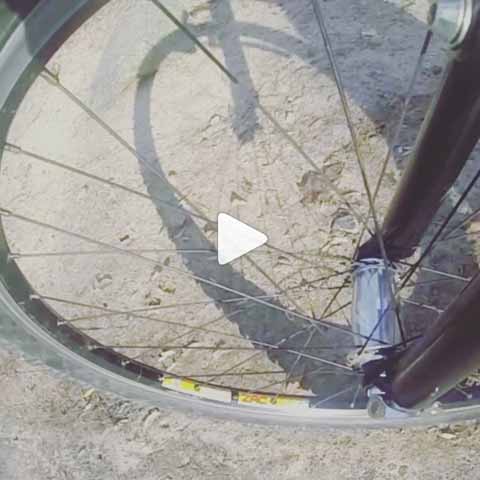
"A" Stands for Air

Air, of course, has to do with the air in your bike's tires. Well-maintained and properly inflated tires are not only important for safety reasons, they're also essential for an enjoyable, worry-free ride. Getting the right tire pressure can be trickier than you think, however. Factors such as temperature, and the age and wear of your tires and rims, play a part. That's why it's important to check your pressure before every ride.
- Start by squeezing each tire. They shouldn't give much, if at all. In other words, they should feel hard. If they're mushy, even a little bit, you can be sure they need some air.
- Check the recommended pressure listed on the sidewall of the tire. Sometimes it's hard to spot, especially on older tires, but it's there. Tire pressure is listed in pounds-per-square-inch, or psi. Recommended pressure is listed as a range (35 to 65 psi, for example) or stated as a single maximum figure (like 65 psi).
- Check the pressure in each of the tires. You'll need a pressure gauge for this. Don't worry, though. You have one in your toolkit (see above). Just make sure you have the proper pump for the type of stems on your bike.
- Inflate your tires to the recommended pressure. Don't inflate to the maximum amount, though. Start in the middle of the pressure range, and then adjust for comfort. You'll probably want a higher psi for better traction when riding on smooth pavement, and a lower psi for off-road riding where things are a bit bumpier. You may need to factor in rider weight, too. Generally, that means higher psi for heavier riders.
- Check your tires for cuts, cracks and bald spots. If you have them, it's time for a new tire.
"B" Stands for Brakes

Nothing can get you into trouble on a bike quicker than not being able to stop when you need to. So, if your brakes have been squealing lately, you know they need looking at. Better still, make sure they're in working order before they get a chance to squeal.
- Start by visually inspecting the brake pads. Replace them if there's less than a quarter inch of pad left.
- Turn the bike over or lift one end at a time off of the ground. Spin the wheel. If the brake pads rub the rim, adjust them so that they don't.
- Check the levers. There should be approximately two inches of space between the brake lever and the handlebar before squeezing. Now squeeze the lever until the brake is fully engaged on the rim. There should be about one inch (or the width of your thumb) between the lever and handlebar. If not, you will need to adjust the tension in the brake cable.
- Also, check to make sure that the sides of the brake engage and disengage the rim – not the tire – smoothly and evenly. If not, you'll have to make an adjustment so that they do.
"C" is for Crankset and Chain

In other words, "c" is for the components of your bike's drivetrain, but drivetrain doesn't start with a "c" so we'll stick with crankset and chain. This step may also include another "c": your cassette, which is the cluster of sprockets connected to the rear hub on multi-gear bikes.
- You can start with the crankset, the major parts of which are the crankarms and chainring(s). Visually inspect them for cracks and dents. Next, check for "play" by grabbing one of the crankarms (not the pedal) and gently shaking it. There shouldn't be any looseness (play). If there is, you'll need to tighten the bolt. If there's still some play after that, you may need to adjust the bearings or have them replaced. You'll likely have that done at your local bike shop.
- While you're at it, check your pedals, too. If they don't spin freely and evenly, or if you feel some rocking motion when pedaling, you probably have a bent pedal or crankarm, and will likely need to replace the one giving you trouble.
- If everything in the crankset appears in order, finish up with a cleaning. Lift the chain off and clean the chainring with a rag and brush (usually an old toothbrush will do). If it's particularly dirty, you should use some cleaning solvent. Replace the chain when you're finished.
- Repeat the cleaning process with the rear sprocket/cassette.
- Next, the chain. Inspect the chain for damage and wear. Wear causes the chain to hang loose on single-gear bikes and eventually causes slippage. If this is happening to you, it's time to replace your chain. For multi-gear bikes with a derailleur, a loose-hanging chain indicates wear. In that case, measure the length of twelve chain links. 12 inches is normal. A measurement over 12 1/8 inches means that it's time for a new chain.
- If the chain is particularly grimy, clean it with a rag and solvent. If that's not enough, use a small brush, like an old toothbrush, and give the chain a good scrub. Once cleaned, lube the chain with the chain lubricant in your tool kit.
- Finally, turn the crank backward to get the chain moving. If you've got sticking links, give them some individual cleaning attention. If the links are warped, you'll need to replace the chain.
Additional Items
Now it's time to go over a few miscellaneous items.
- Quick release levers are often found on wheel hubs and at the seat post connection. Be sure these levers are properly in the closed positions and are providing a tight fit.
- Twist the saddle post stem, brake levers, gear shift levers, and handlebars to make sure all are snug and working properly. If not, tighten them up.
- Lift the bike off of the ground, give it a shake and then, from a height of only an inch or so, drop it. What you're looking and listening for are rattles or other funny noises that might indicate a problem. Tighten what rattles.
- Have your child get on the bike (or get on yourself, if it's your bike) and take a brief roll around the driveway. Then pedal around just up the street a bit. Try out the brakes and steering. Make sure the wheels feel right. Listen again for rattles and squeaks. If something needs an adjustment, do it. If not, then you're ready to roll.
Well, almost…
Safety Equipment
Obviously, no respectable bicycle safety checklist would be complete without a review of safety equipment, both on the bike itself and on the rider. There are literally hundreds of safety products and gadgets out there that you can buy, but you really don't have to go crazy. The key is to think sensibly and be safe.
On the Bike
Being safe means being seen. So, the first safety items bicycles should have are reflectors and lights.
- Reflectors are recommended for both the front and back of the bike, but a red reflector, mounted on a rear fender or the back of the saddle, is a must. In the U.S., reflectors on pedals are now required on new bikes. If your bike doesn't have them, consider getting them. Reflectors that fit in the spokes are also a good idea for both the front and rear wheels.
- Lights are important if you or your child will be riding at night. Consider a front, white light with a steady beam, and a rear, red light with either a steady or flashing beam.
- If you or your child will be riding in traffic, consider attaching an orange flag that extends several feet above the bike.
- You might also want to consider mounting a rear-view mirror to the handlebars. A horn or bell is good idea, too.
On the Rider
Riders should wear clothes that help them to be seen and equipment that protects them from injury.
- The golden rule for bicycle safety is: Never ride, or let your child ride, without a helmet. The risk of brain injury caused by a bike accident is very real and very serious. So serious in fact, that 22 states and hundreds of localities currently require helmets by law. Be sure your or your child's helmet fits correctly and, importantly, is approved by the Consumer Product Safety Commission.
- Other safety equipment to consider: elbow and knee protectors, mouth guard, and gloves.
- Always wear bright clothes, and consider a jacket or other clothing with fluorescent material or reflective tape. They'll help others see you better. And always wear closed-toed shoes, never open-toed sandals or flip-flops. And never ride barefoot. As for pants, avoid ones with loose pant legs that can get caught in the bike's chain. Better yet, invest in a set of pants clips. They're cheap and effective.
- Two more items to carry with you: a cell phone and a small maintenance kit.
A word about bike size: Proper bike size is important for both comfort and safety. For a discussion of proper sizing and fit, check out our article on how to choose the perfect bike for your child.
Using this in real life
I know you're thinking that going over such a detailed bicycle safety checklist every time you let your child out to ride around the block is a bit of overkill. But like most everything else in life, once you've gotten into the habit of doing it, it will seem like second nature. And if you're still not convinced of the list's value, you might want to skim over those CDC statistics again.

← Older post Newer post →