How to Teach Your Child to Ride a Bike
Where did the saying, "It's as simple as riding a bike" come from? Certainly not from someone getting on a bicycle for the first time. Or someone trying to teach another person to ride. Yet according to one survey over 94 percent of Americans claim to know how to ride a bike.
So, how hard could learning to ride really be? The answer is: Not that hard. And, as any parent who has been through the process will tell you, teaching a child to ride just takes a little knowledge and a lot of patience. We can't help you with the patience part, but we can provide you with a little bit of the knowledge. So, here are a few useful tips on how to teach your child to ride a bike.
First, a word about teaching an adult
If 94 percent of Americans know how to ride a bike, that means that six percent somehow missed their chance to learn as a child. If you are one of the six percent, and you're tired of missing out on the fun of riding, it's not too late. Most of the advice in this article about how to teach a child to ride a bike applies to adults as well. You'll start by taking off your pedals and going through the same stages listed below. And it doesn't hurt to recruit another adult to help. The main thing is to be patient with yourself and to get out and do it. Just remember that with your higher center of gravity (compared to kids that is) wearing the proper safety equipment is as essential for you as it is for those littler beginners.
Getting Started
When it comes to how to teach your child to ride a bike, you can't just get outside and go. First you have to do some prep work:
Is Your Child Ready?
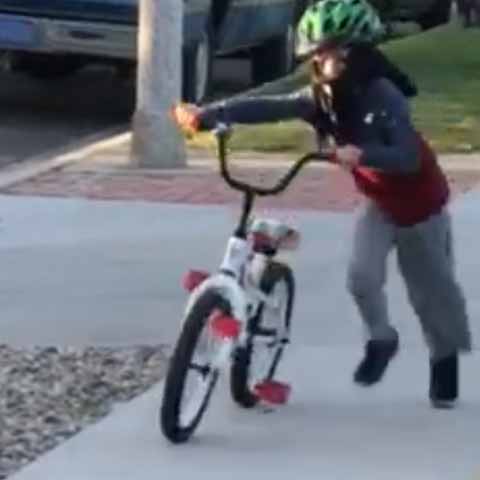
 It's important that your child is ready, both physically and in terms of maturity, to ride a two-wheeler. Generally speaking, three- to four-year-olds are often ready for a balance bike (more on that later) or a regular bike with training wheels. By five, most kids have the coordination and focus required to ride without training wheels, but lack the maturity to understand the dangers of riding around traffic or without proper safety equipment. Lots of kids are ready to pedal a two-wheeler without training wheels at a younger age, some as young as three. As for your child, though, you'll simply have to gauge his or her readiness yourself. And if she's not ready, that's when it's time to apply a little of that patience.
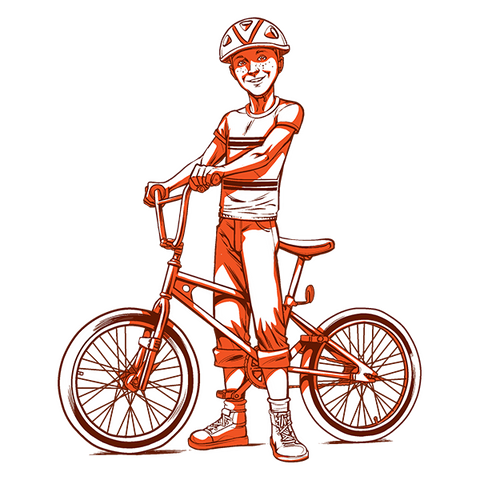
Choose the Right Bike
When it comes to selecting a bike, you should definitely do a little research and consult an expert at your local bike shop, if possible. In basic terms, though, your child should be able to stand over the top tube of the bike with both feet planted firmly on the ground. He should also be able to sit comfortably on the bike seat with his feet, or at least toes, touching the ground. And be sure that his knees don't touch the handlebars when pedaling. Of course, it goes without saying that your child's bike should be in top working order at all times.
Decide Between a Balance Bike and Training Wheels
There's a lot of discussion out there as to whether it's best to start your child out on a bike with pedals and training wheels or on a balance bike. A balance bike is one with no pedals or drivetrain, where the rider simply pushes herself along with her feet. Balance bikes have been popular in Europe for a long time and have gained a strong following in the U.S. in the last few years. They're certainly an option worth checking out.
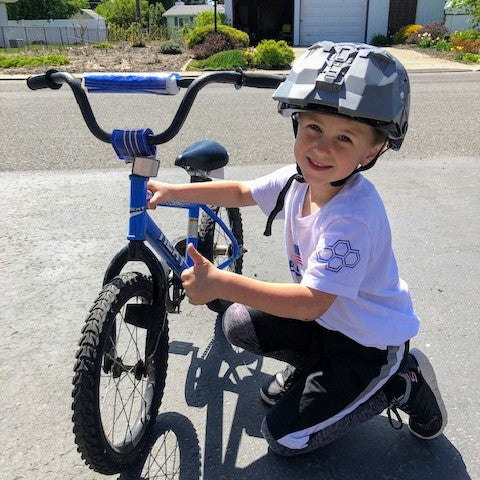
Collect Helmets and Other Safety Equipment
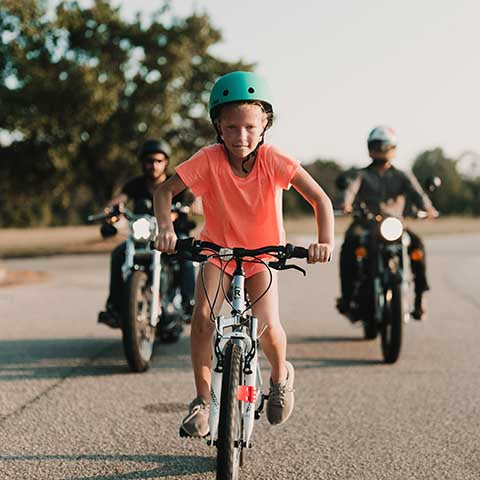
There are lots of different types of safety equipment out there, including gloves, shoulder and knee pads, mouth guards, and more. And they all come highly recommended. But of absolute importance is the safety helmet. Helmets should fit snugly and have a chinstrap with a buckle. Most notably, helmets should carry the approval of the Consumer Product Safety Commission. Here's the golden rule: Never let your child ride without wearing a proper helmet. Come to think of it, no adult should ever ride without a helmet, either.
Find a Good Location to Learn and Practice
Select a place that's flat and smooth, preferably off of hard pavement. A tennis or basketball court is a good option, as long as it's not being used by others at the time. Another possibility is a grassy area, as long as it's smooth. Most importantly, your training area should be free of all traffic, of both the motorized and pedestrian varieties.
Remember, the first keyword for how to teach your child to ride a bike is balance. The second keyword is confidence. And you're going to want to take teaching balance in steps. When you do so, with encouragement and patience, your child's confidence will build naturally.
There are three basic skill stages – scooting, coasting and pedaling. Here's a look at each:
Stage 1: Scooting
 For this stage, adjust the bike's saddle post so that your child's rear end is seated firmly in the saddle. Both feet should be flat on the ground and there should be a slight bend in the knees. A balance bike is perfect for this. If your bike has pedals, though, you'll need to remove them for this stage.
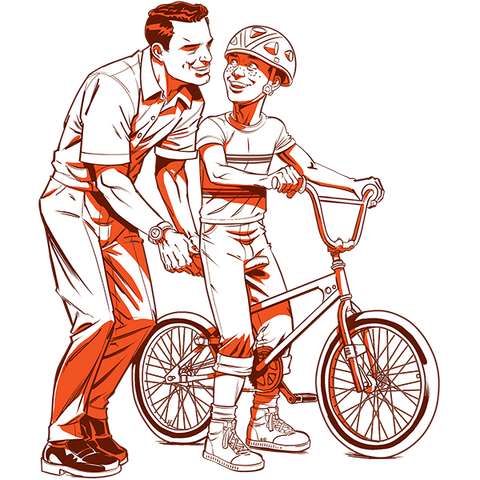
Now, from a sitting and still position, have your child use his feet to "scoot" the bike forward. He should naturally lift his feet, bring them forward, and then plant them back onto the ground. You can steady your child by putting a hand on his shoulder or on the back of the saddle, but do so lightly and only make an adjustment when necessary to keep him from falling. The goal is to have your child gain his balance on his own.
Once your child has scooted forward and stopped a few times, have him scoot two or three times without stopping. Soon he'll be doing it without the need to stop until he wants to. At this point, however, all motion should be forward without any turns.
Stage 2: Coasting
Once your child is balancing with confidence and – this is important – having fun doing it, it's time to move on to coasting. Coasting has to do with your child riding a distance without putting her feet down to scoot or stop. She may be hesitant to do this at first since it requires a bit more confidence in her ability to balance. Have her try coasting with her legs outstretched to act as a stabling force. Again, you may want to run alongside your child keeping a hand on her shoulder or the back of the saddle. Just be sure not to hinder her efforts at self-balancing. Remember, at some point, you'll have to let go and trust that your child can keep her balance without you.
 A quick note on braking: At this point, your child should be moving slowly enough to stop by simply putting his feet on the ground, negating the need for brakes. Braking may become a problem, however, if he moves off of level surfaces and begins coasting downhill. If your bike has hand brakes, it's time to introduce their use (see below). If the bike has no brakes, pay close attention to the surface level. Stay away from hills and slopes until the pedaling stage when your child will definitely be using the bike's brakes.
Stage 3: Turning
Once your child is coasting in a straight line with confidence, it's time to try out turning. The key is to both lean in slightly and steer into the turn. Start with large circles that require only a bit of steering. If you have them, place some safety cones out to define the circle. Your child will then have a visual reference to gauge how much steering will be required. As your child gains confidence in her turning abilities, you can make the circle smaller, requiring more pronounced turning. Then, add "S" turns to the mix, making sure to start with large S's that require a minimum of turning. Again, you can tighten up the curves as your child gains confidence and skill.
Stage 4: Braking
If your child hasn't been introduced to using her bike's brakes yet, now is the time to do it. A good way to start is with your child standing next to the bike and holding onto the handlebars. Have her walk along next to the bike and then squeeze the brake levers. Be sure she squeezes both levers at the same time. Starting this way allows your child to get a feel for applying the brakes gently to avoid a jarring and destabilizing stop.
Next, have your child climb back on her bike and put her feet up on the pedals. Keep the bike upright by holding onto the back of the saddle and keep it there as you push the bike forward. Once it starts moving, have your child gently apply the brakes and bring the bike to a stop. Be sure she understands to put her feet down on the ground as the bike comes to a halt. Repeat this process several times. One your child is comfortable with braking and stopping, it's time for pedaling.
Stage 5: Pedaling
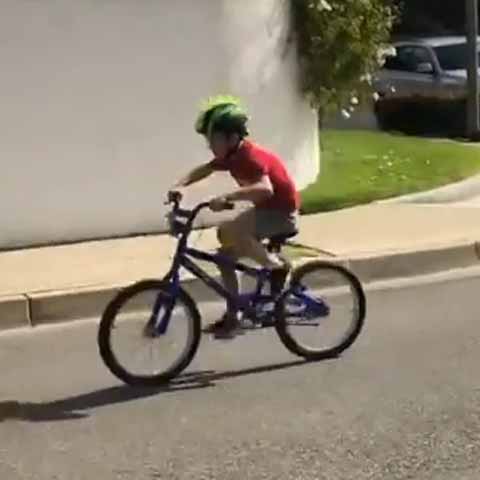
 You've now reached the final big stage in the how to teach your child to ride a bike process. If you've been using a balance bike, it's time to switch it out for one with pedals and a drivetrain. If you've been using a modified bike, time to put the pedals back on. For pedal beginners, you may want to leave the saddle height where it is. This will allow your child the ability to still place both feet on the ground at the same time and to push off with both feet while learning to pedal. Once he has gained enough confidence in his pedaling abilities, you can readjust the saddle so that he has a slight bend at the knee when the pedal is at its lowest position while he's sitting comfortably in the saddle.
Start out by holding onto the back of the saddle to help keep balance. Have your child place one foot on the forward pedal (which should be at a slightly higher position than the backward pedal) and the other foot on the ground. Have him push down on the front pedal. Once he begins moving forward, make sure that he places his other foot on the other pedal. Continue to steady the bike with your hand on the saddle while moving forward. Some kids forget at this point to keep pedaling, so you may need to remind them.
Once he's gotten a feel for pedaling straight ahead without you holding onto the saddle, you can again introduce turning into the mix. Use the same techniques as before when you worked on turning without pedals.
Success! Rules of the Road & Riding Together
Remember when your child first learned to walk? You probably realized, quite suddenly, that if you turned your back, even for a moment, your kid would be off and running without you realizing it. It's a bit like that when your child first learns to ride a bike. The point is that your job as riding instructor doesn't end when your youngster can pedal away without you holding on.
You may want to go back and review the section above about the dangers involved in riding in traffic or without safety equipment. It will remind you that you must continue to supervise your child's riding for some time to come. And you will need to continue to stress the importance of following the rules – actual laws, in fact – of the road. Rules that are meant to keep him safe.
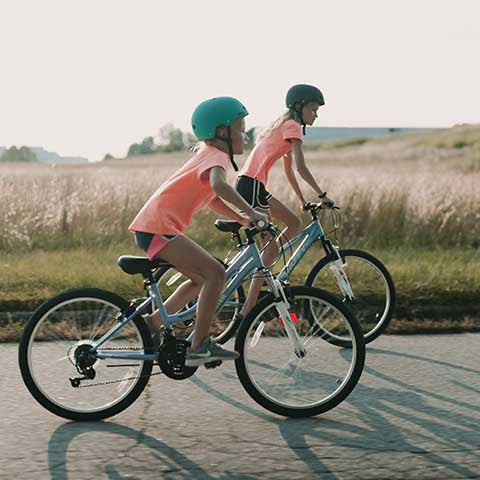
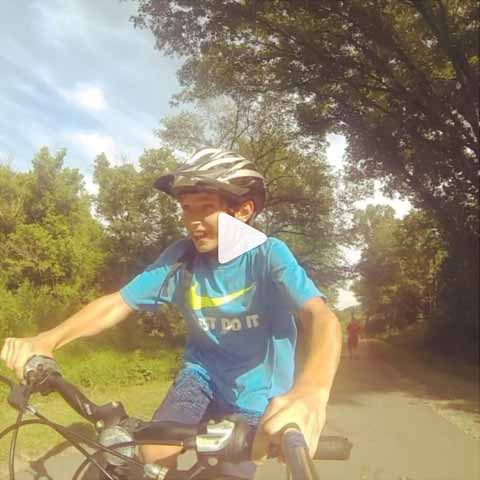
A great way to keep your kids riding safely is to go out, hop on your own bike, and go riding together. It's also a lot of fun. And speaking of fun…
Here's one more important how to teach your child to ride a bike reminder: Keep it fun! And that means throughout the entire learning process. Nothing will encourage your child to learn quicker than a stress-free environment and some good old positive reinforcement. Just be patient and let your child learn at his or her own pace. If you do, you'll be laying a foundation for a lifetime of riding enjoyment.
← Older post Newer post →